Getting Started with Automated UI Testing
The Automated UI Testing package is currently a preview and we're looking for your feedback! Please submit feedback using our feedback form.
Also, join our Discord to share your creations and get help from the community.
This quick walkthrough will teach you how integrate the Regression Games Automated Testing package into your game and leverage a built-in bot to perform Monkey Testing. Monkey Testing is a strategy where a user randomly interacts with UI elements to uncover potential edge-cases. The built-in "Monkey Bot" will allow you to do some basic UI hardening to ensure your game doesn't crash or behave unexpectedly when a user clicks on random UI elements.
A sample game to start with
If you have a game you want to automate, you can skip this step. But if you just want to check the package out and don't have an active game project, we recommend using the Boss Room Co-Op Sample Project from Unity.
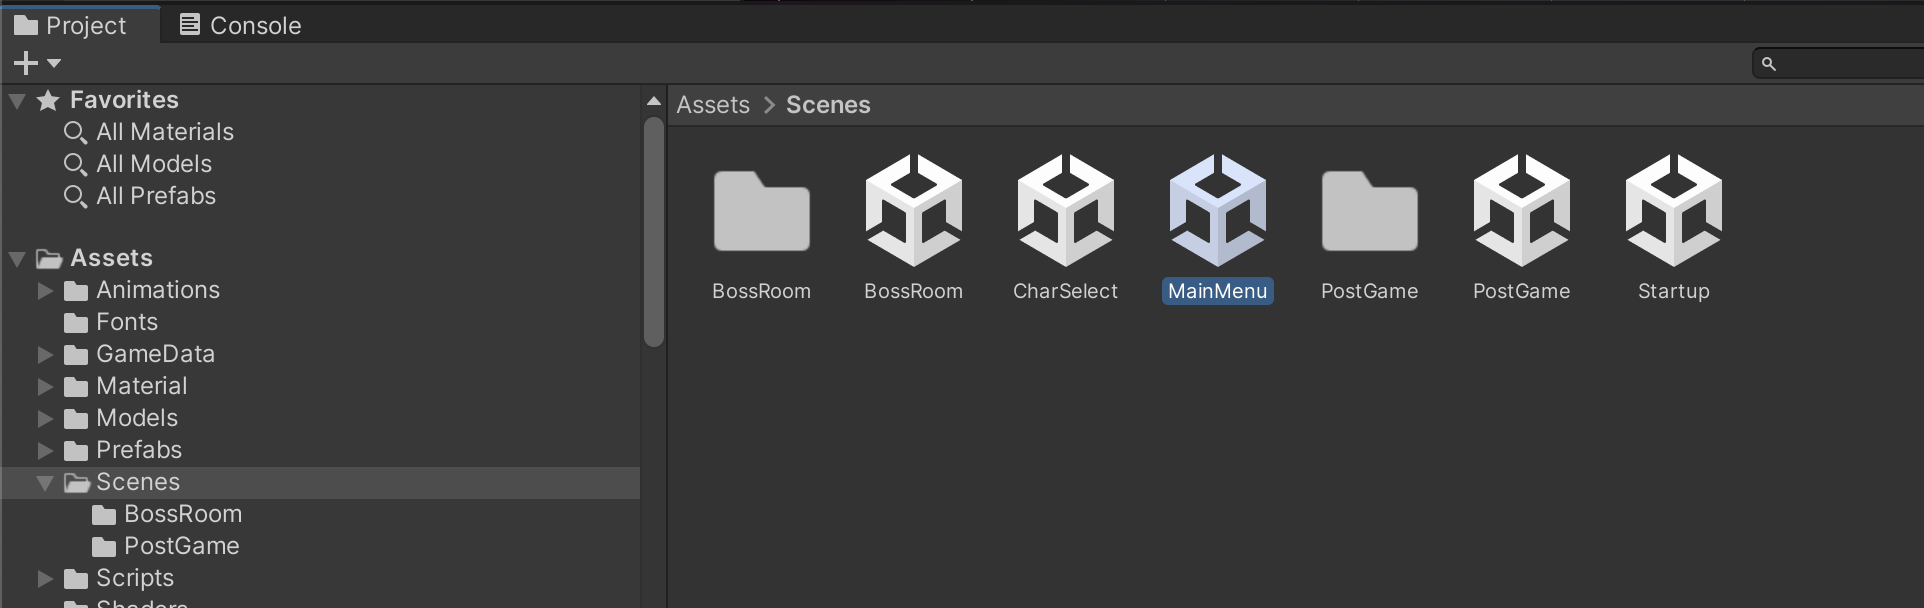
Once downloaded, open the project in Unity. Navigate to the Scenes folder in the Project window and open the MainMenu scene. Use this scene for the rest of the tutorial.
Installing the package
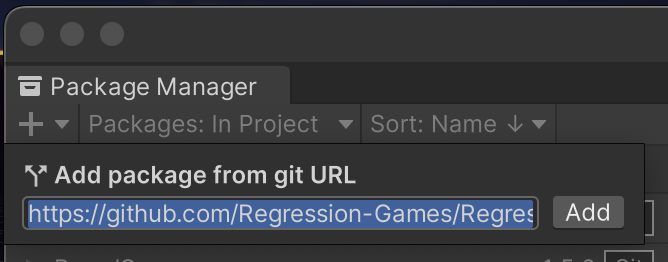
Our package is available at https://github.com/Regression-Games/RegressionGames.Unity.Testing. Import it into your game by clicking Window > Package Manager in the Unity menu, and then clicking the + button in the top left corner of the Package Manager window. Select Add package from git URL and paste in the following URL:
https://github.com/Regression-Games/RegressionGames.Unity.Testing.git?path=src/gg.regression.unity.testing#v0.1.0
- The package uses TextMeshPro to provide UI elements. If you are prompted by Unity to add TextMeshPro assets to your project, please add them.
- The package uses Newtonsoft Json to serialize state for recordings.
Adding the Automation Controller and components to your scene
Once the package is installed, add an Automation Controller to the scene you wish to automate. The Automation Controller is the hub for all automation in a scene. Bots are spawned as children of the Automation Controller, and Entity Discoverers (see below) must be added as children of the Automation Controller to allow it to identify and interact with your GameObjects. The Controller also provides APIs for spawning bots and managing recordings (via a separate, Automation Recorder component attached to the same object).
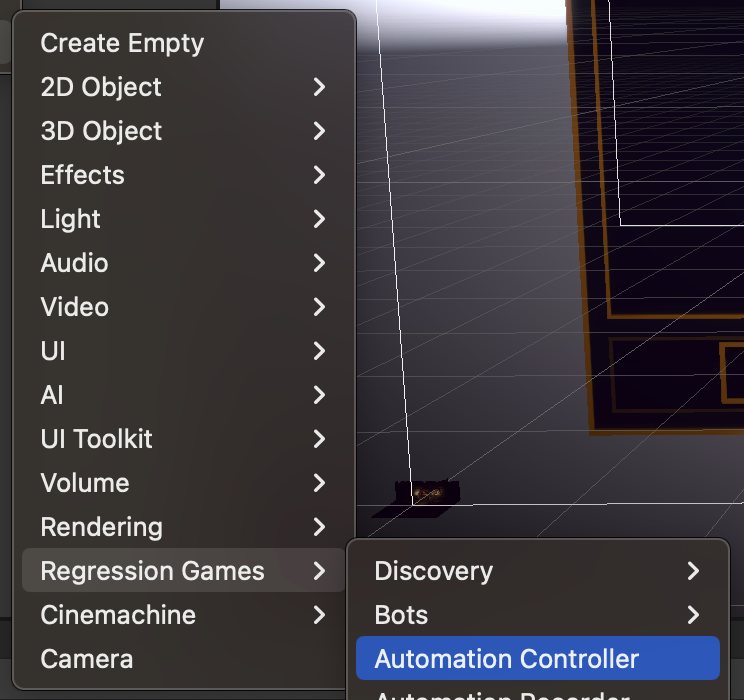
To add the Automation Controller to your scene, go to Unity's main menu bar and click GameObject > Regression Games > Automation Controller. In the BossRoom sample, we recommend adding the controller to the Assets/Scenes/MainMenu.unity scene.
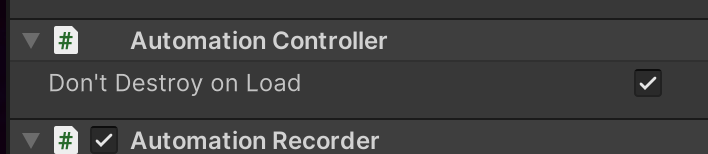
By default, the Automation Controller and all its children will mark themselves as DontDestroyOnLoad. This ensures that bots continue to run when you load a new scene in your game. You can disable this behavior by unchecking the "Don't Destroy On Load" checkbox on the Automation Controller component.
Adding Entity Discoverers to your scene
In order to automate entities in your game, the Automation Controller needs to be able to find them. The Automation Controller uses Entity Discoverers to find entities in the scene that can be interacted with. The package provides a few built-in Entity Discoverers, but you can also create your own. To add one of the built-in discoverers, go to the Unity main menu and open the GameObject > Regression Games > Discovery menu. Then, select the discoverer you want to add:
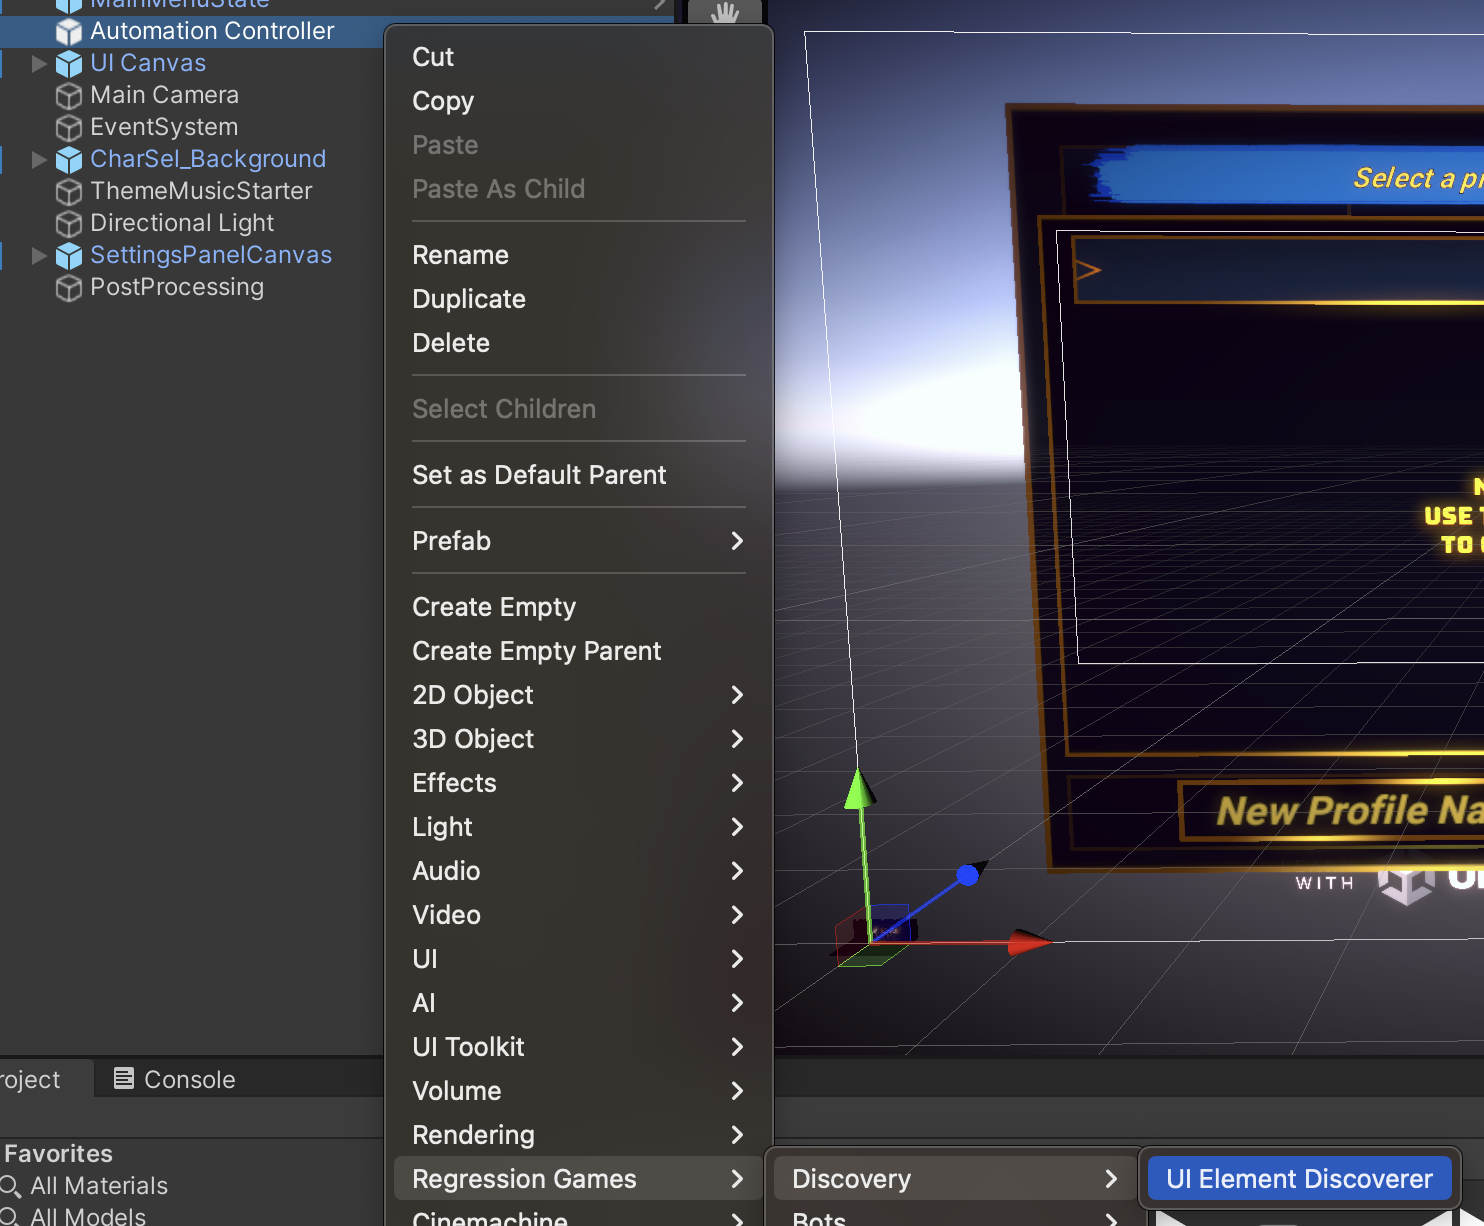
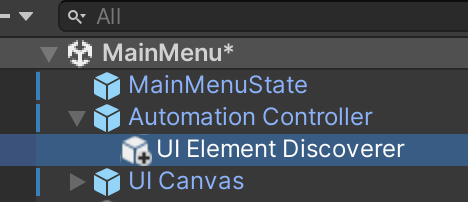
As long as you have an Automation Controller in your scene, the Entity Discoverer will automatically be added as a child of the Automation Controller, no matter what object is selected in the Hierarchy window.
For this example, we recommend adding the "UI Element Discoverer", which will find all the UI elements in your scene. Elements will provide various states that can be recorded, such as the opacity and interactability of a Canvas Group. Some elements provide actions that the bot can take, such as clicking on a Button.
Adding the Overlay UI
For simple scenarios, we provide a UI Overlay that can be used to spawn bots in the scene. This allows you to quickly try out automations without having to write code to manage the bots. To add the Overlay UI, go to the Unity main menu and open the GameObject > Regression Games. Click UI Overlay to add the UI Overlay to your scene. It does not need to be a child of the automation controller, you can place it anywhere in your scene.
The UI Overlay provides a small button in the bottom-right corner of the game. When clicked, this button will open a dialog that shows you a list of available bots that can be spawned. You can customize which bots appear in this list using the "Available Bots" property on the UI Overlay component.
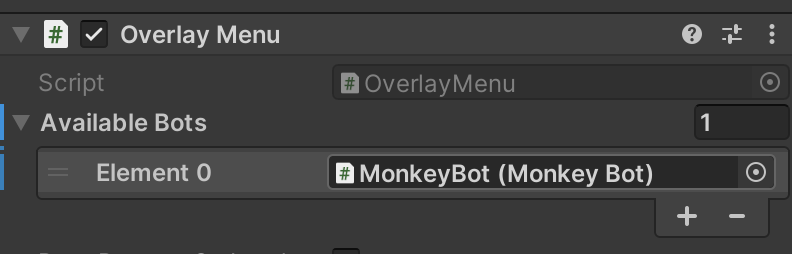
The UI Overlay includes the built-in "Monkey Bot", which is a bot that randomly clicks on UI elements in your game and records a screenshot of the game after each click.
By default, the Overlay UI will mark itself as DontDestroyOnLoad. This allows you to retain control over starting and stopping bots when you load a new scene in your game. You can disable this behavior by unchecking the "Don't Destroy On Load" checkbox on the Overlay UI component.
Save the scene before continuing to run the bot.
Running the Monkey Bot
Now that you have the Automation Controller, UI Element Discoverer, and Overlay UI in your scene, you can run an example with the Monkey Bot.
- Click the Play button in the Unity Editor to start the game.
- Click the button in the bottom-right corner of the game to open the Overlay UI.
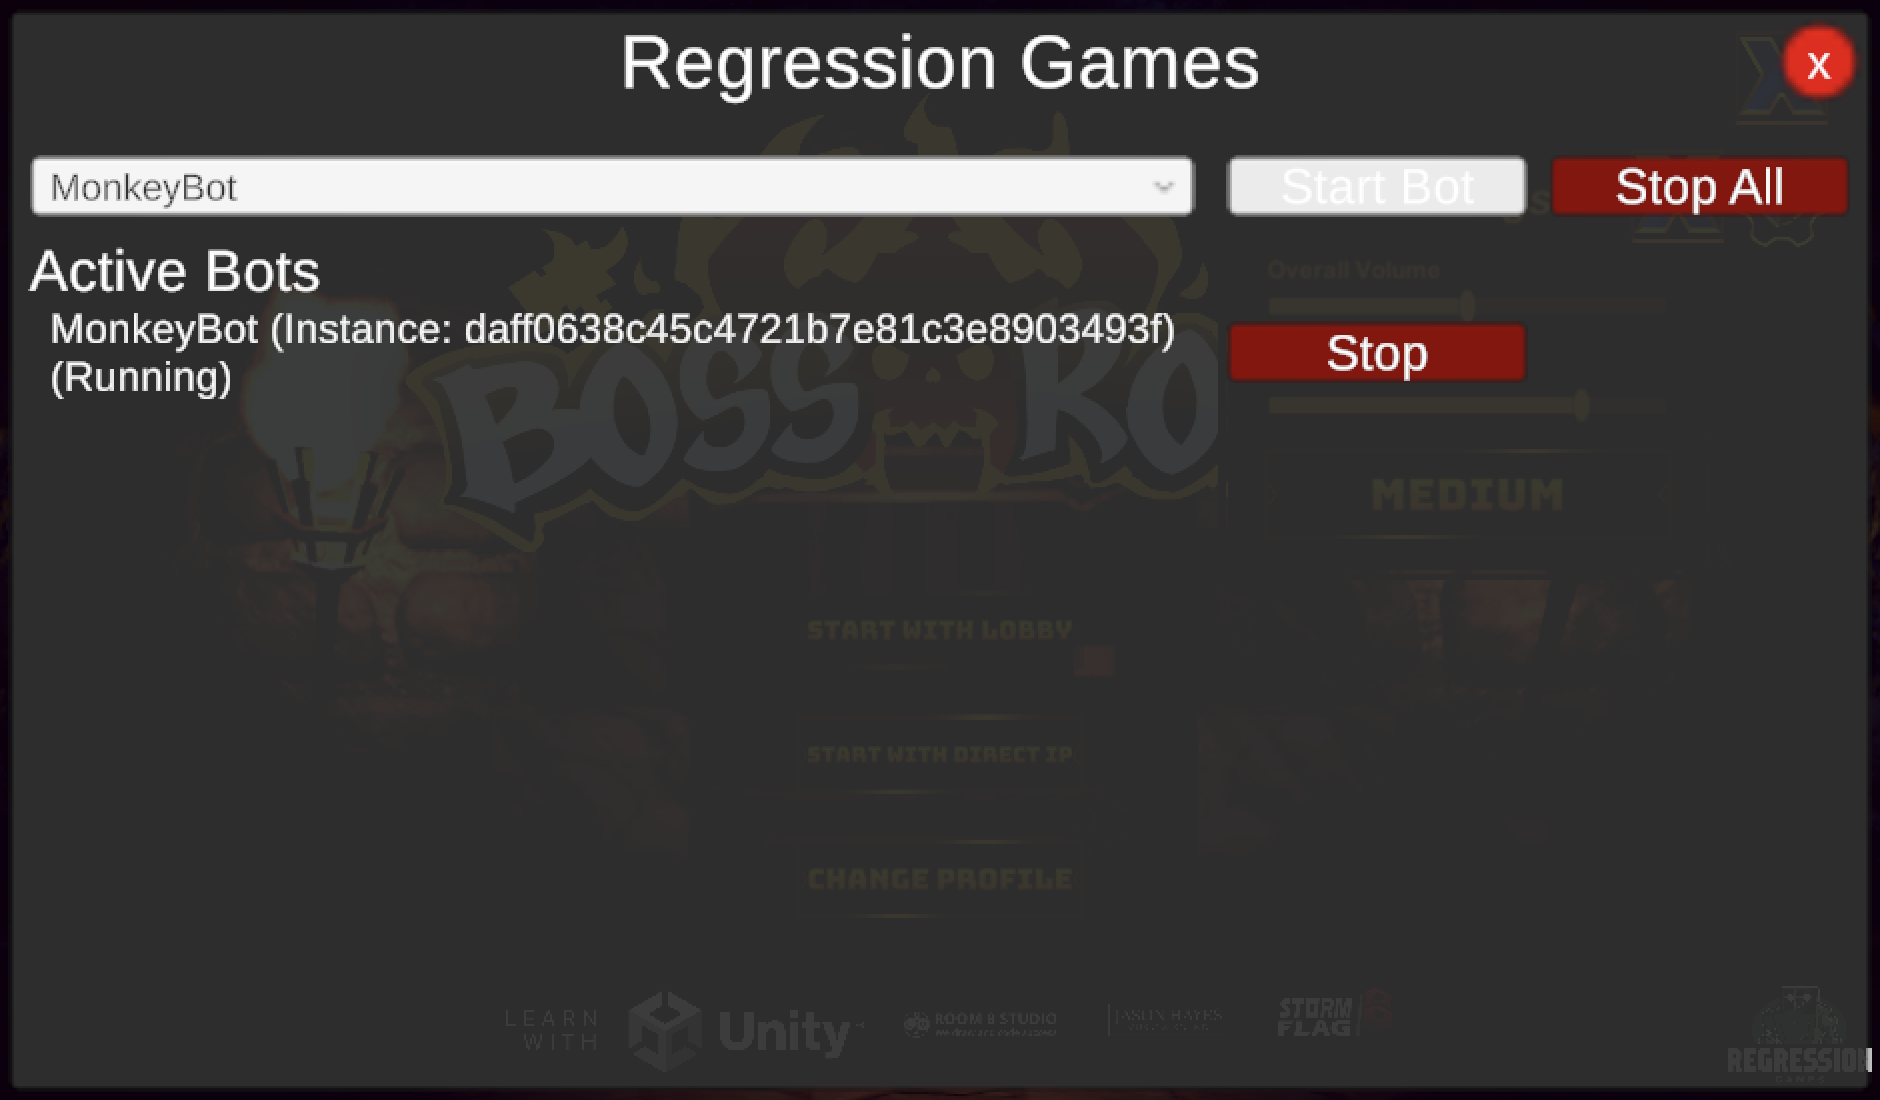
- Choose the "Monkey Bot" from the list of available bots and click Start Bot.
- The overlay will close and you'll see the Monkey Bot activating UI elements randomly in your game.
- After a few seconds, open the overlay again and click Stop next to the Monkey Bot.
Viewing recordings
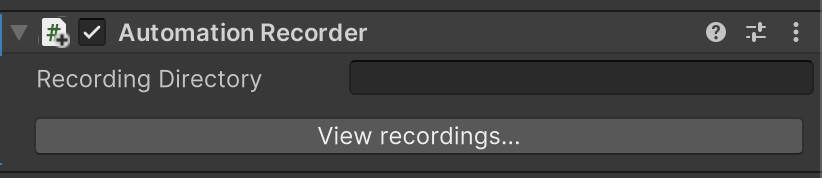
Whenever you spawn a bot using the Overlay UI, a recording is automatically started. When that bot stops, the recording is automatically stopped. You can view the recordings by clicking on the "Automation Controller" object in the Hierarchy window. On the inspector, find the "Automation Recorder" component and click the View Recordings... button. The directory in which the recordings are stored will open in your file explorer.

Each recording is an .rgrec.zip file.
Inside these ZIP files are:
- A
recording.jsonfile which contains global metadata about the recording (when it was made, who made it, etc.) - A series of
snapshot.[frameNumber].jsonfiles that contain all the state captured for each frame of the recording. Frames with no state changes are not included in the recording, so if a given frameNis missing, it means that the state of the game did not change between framesN-1andN. - A series of
screenshot.[frameNumber].pngfiles that contain a screenshot of the game for each frame that a screenshot was requested. Bots, and your game code, can use an API on the Automation Controller to request a screenshot at any time. For example, the Monkey Bot requests a screenshot for the frame immediately after it clicks on a UI element.

Next steps
From here, you can give the GPT Assistant Bot a try and go beyond random automation!