Using Gameplay Sessions
Preparing the Overlay
The Regression Games SDK's RGOverlayCanvasV2 prefab is a UI component that will allow you to record and replay Gameplay
Sessions.
Find the RGOverlayCanvasV2 prefab by navigating to Packages > Regression Games Unity Bots > Runtime > Prefabs and
drag it into your scene's object hierarchy. Make sure that the canvas is at the top of the hierarchy, so that it is always
visible and interactable.
Note that this overlay must be present in your scene for Regression Games to function. The visibility of the overlay can be hidden through the Regression Games settings pane under Edit > Project Settings > Regression Games. Place this component into each scene that must be able to use Regression Games SDK features.
Recording Gameplay
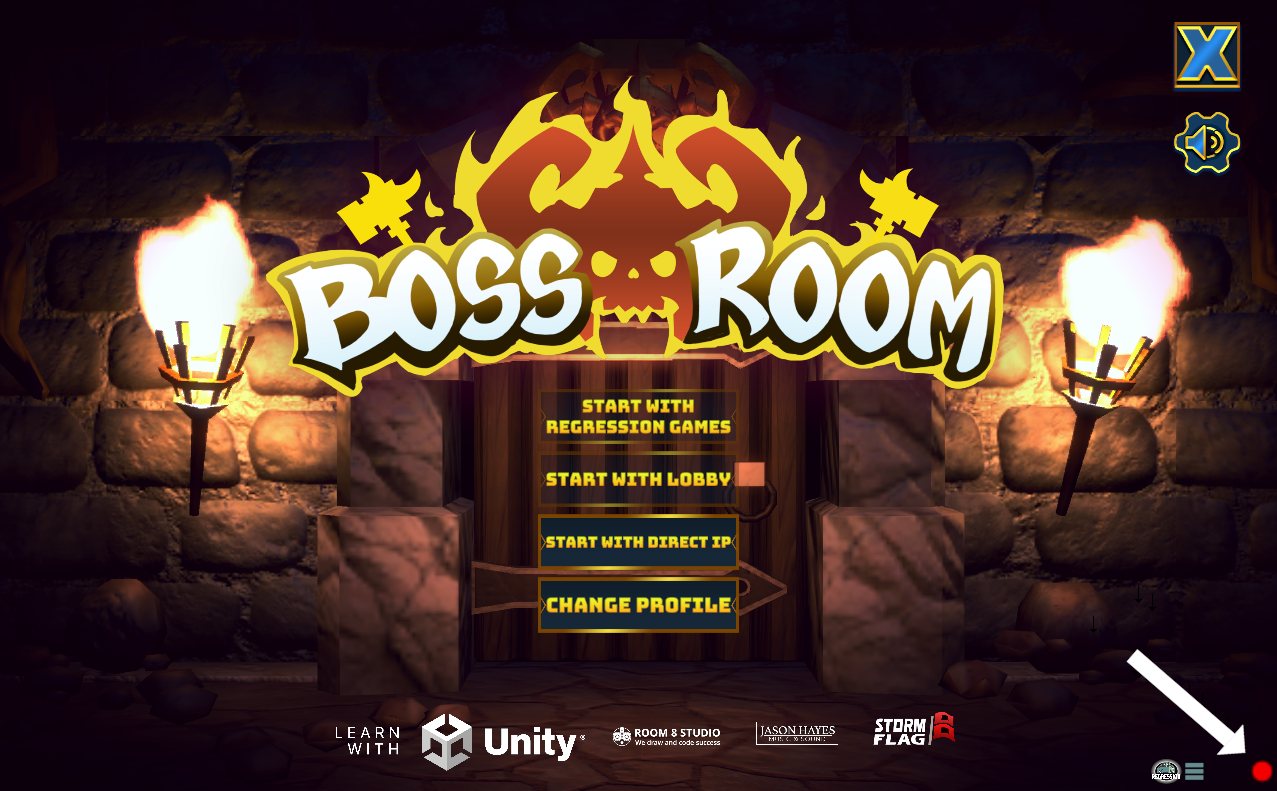
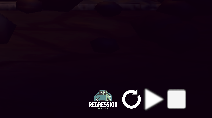
Once the overlay has been added to your scene(s), click play. The Regression Games toolbar at the bottom of the Scene View will display recording and playback controls.
Recording can be started by clicking the red "record" button on the right side of the toolbar. Once clicked, the SDK will begin recording your gameplay. You can tell that recording is active when the red button begins pulsing. Clicking the button again will stop the recording and sync the Gameplay Session to your Regression Games account.
Loading a Recording
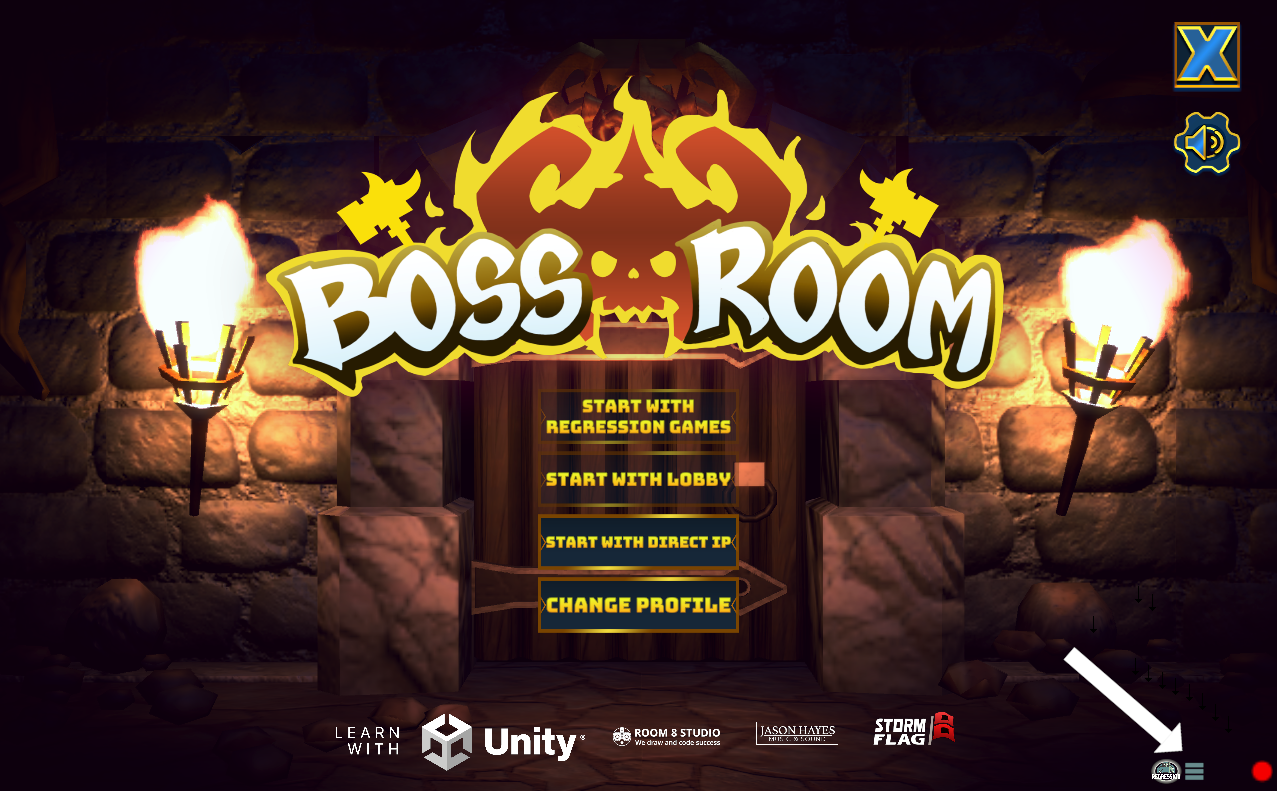
A recording can be replayed by initiating "play" mode from your Unity editor and selecting the menu button on the Regression Games toolbar.
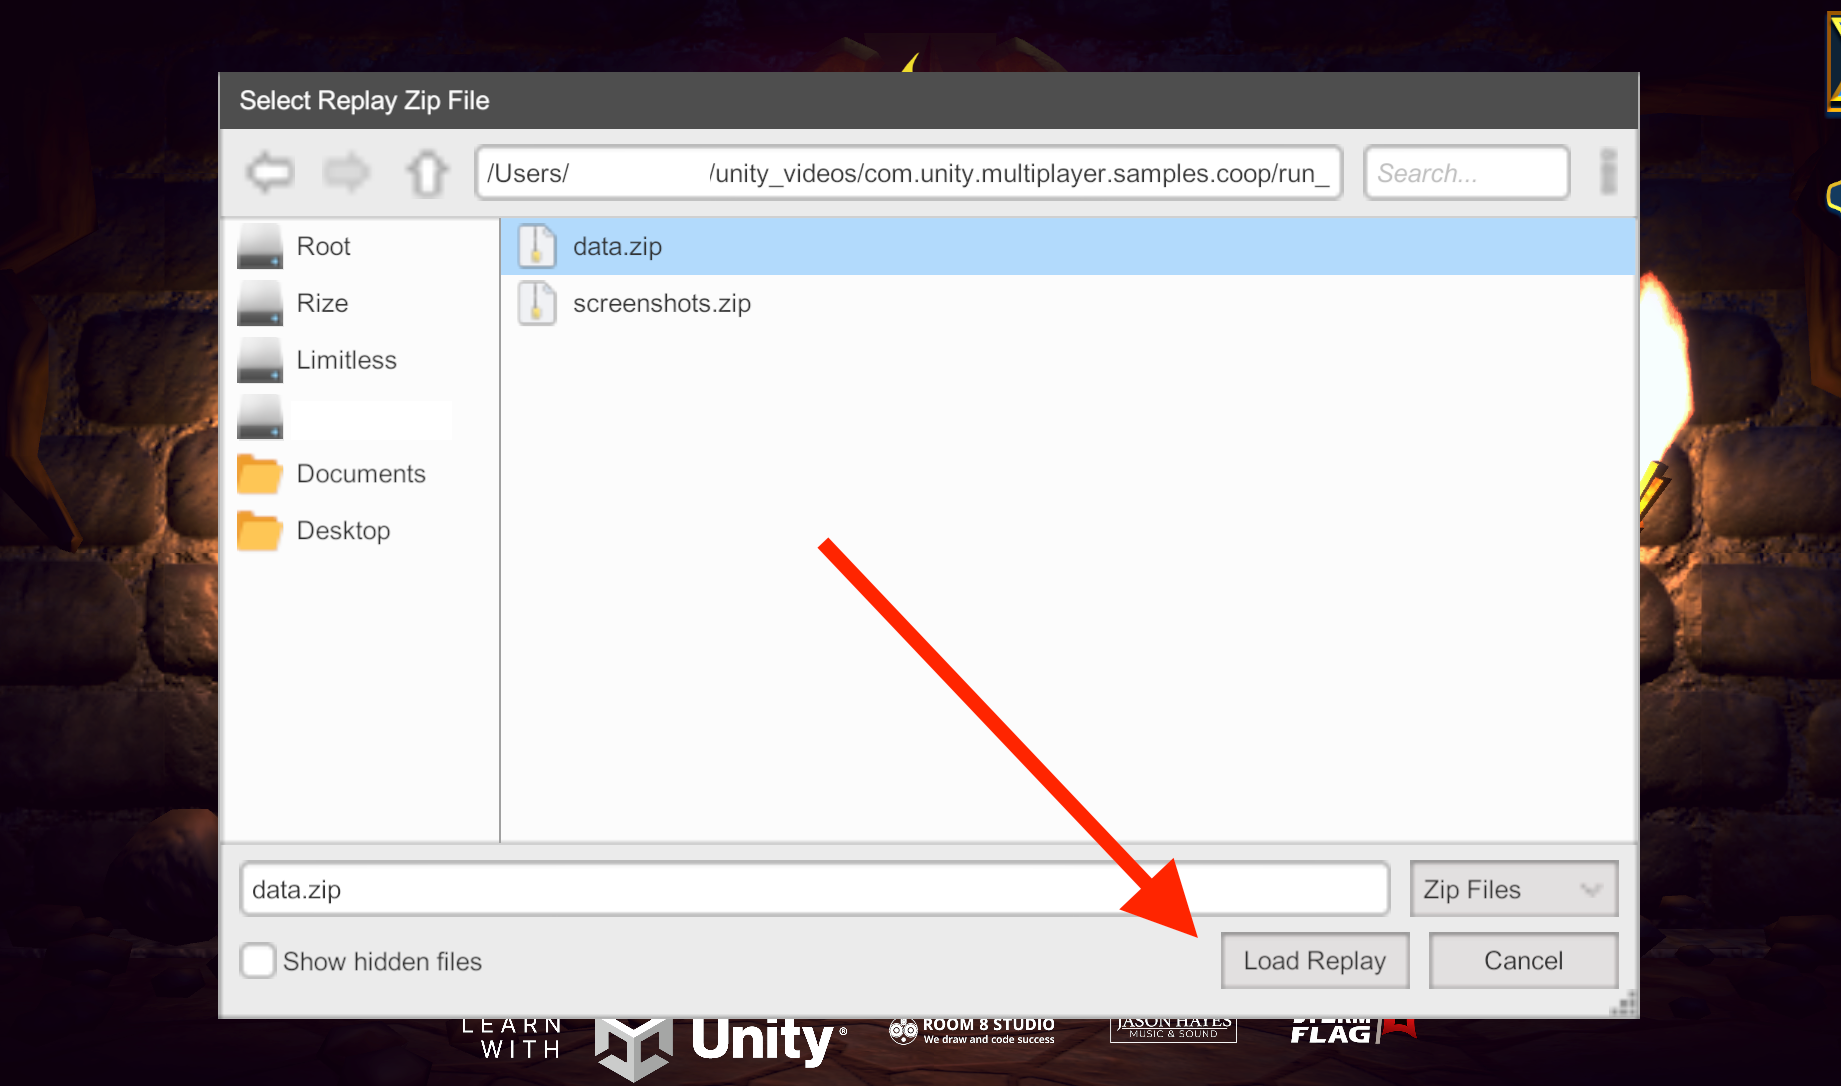
This will launch a file explorer at the location of the recordings folder on your device.
Navigate into the folder of the recording you'd like to replay, select its bot_segments.zip file, and then click "Load Replay".
Playing a Recording
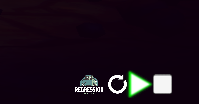
Once you've selected a replay, click either the Loop or Play button below on the Regression Games toolbar to begin playback.
- The Loop function will continue to play the recording over and over until a failure occurs.
- For looped playback, it is important to make the recording such that it returns to the expected starting state before finishing.
- The Play function will play the recording only one time.
- The Stop button can be used at any time to stop and unload the current recording.
Successful Playback
When playback succeeds, a green indicator will be shown on the Play button.
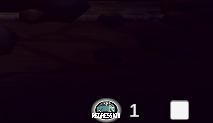
Loop Counter
When looping a recording, a counter is shown indicating the current loop iteration in progress.
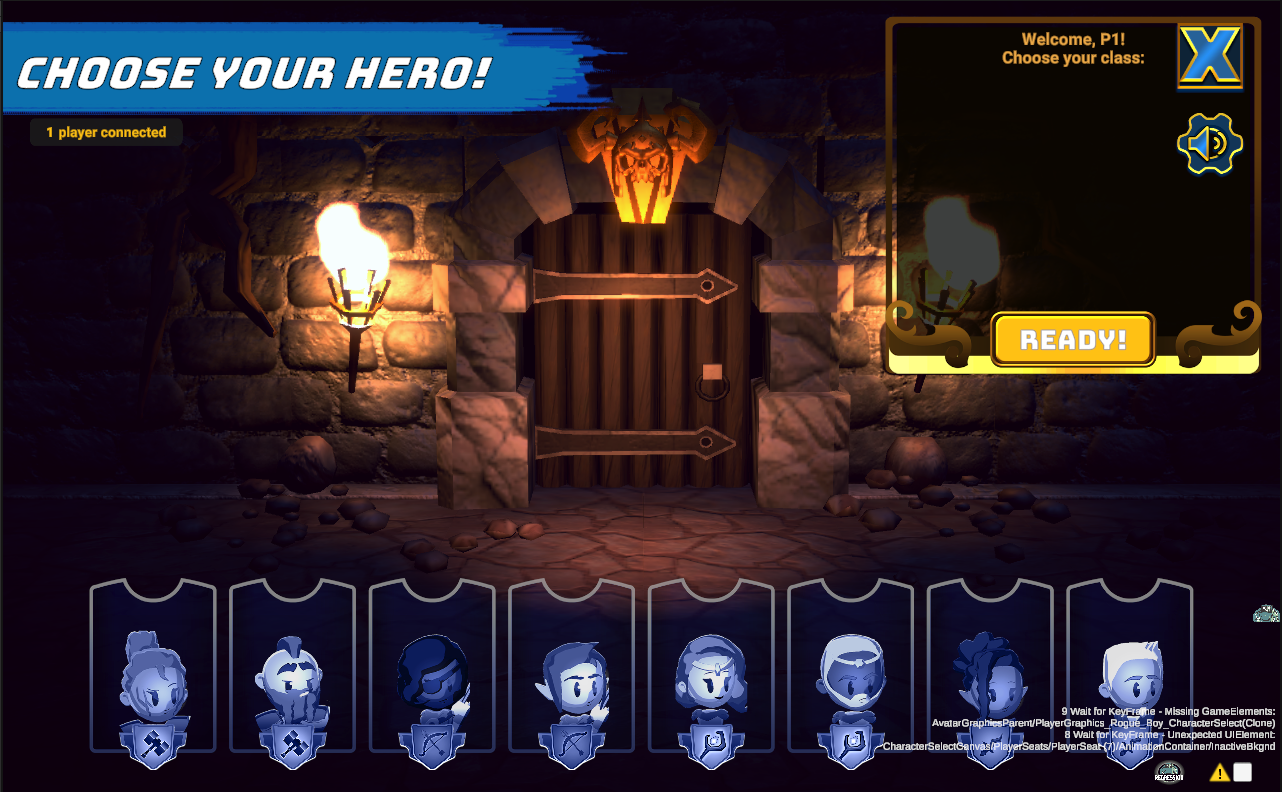
Errors During Playback
Sometimes an error can occur during playback where the expected state for the next key frame does not happen. The SDK will show a yellow warning icon on the toolbar and list out the paths of game objects in unexpected states. The Stop button can be used to clear the error and unload the recording.
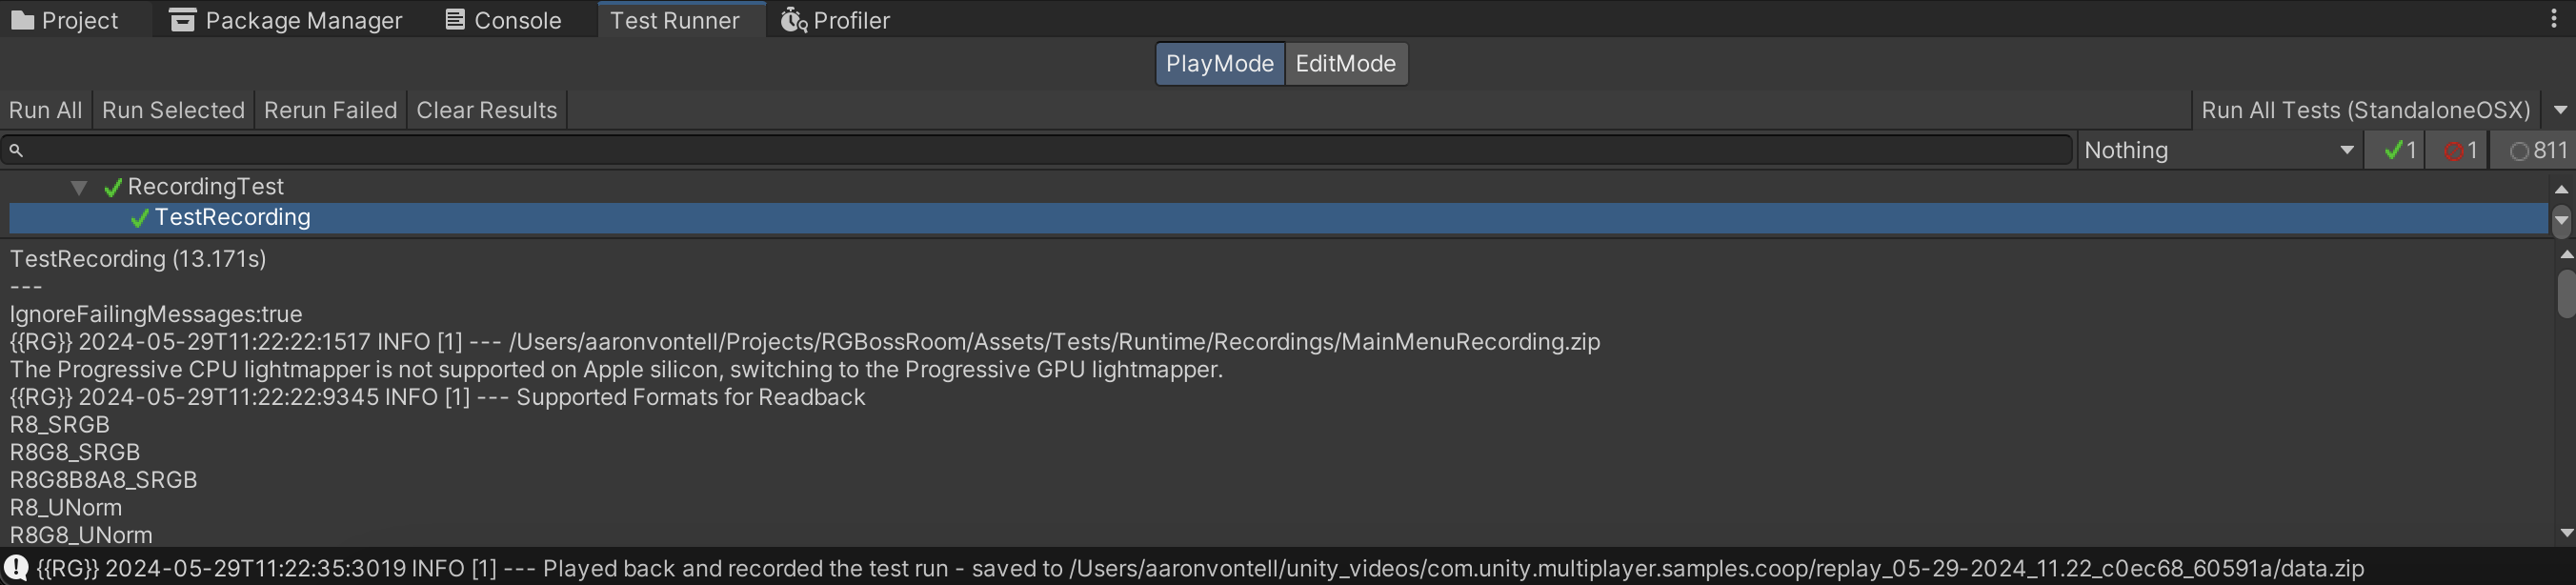
Programmatically Playing a Recording
A recorded Gameplay Session can be played back programmatically from a
Unity Test Runner Play Mode test.
Create a Play Mode test file and use the RGTestUtils class to load and play a recording. This
will also record the replay as a new Gameplay Session.
Recording files are saved by default to the session directory. Make sure to copy your recordings into a directory within your project to ensure that they are available for other machines that run your automated tests.
using System.Collections;
using RegressionGames;
using RegressionGames.Types;
using UnityEngine.Assertions;
using UnityEngine.SceneManagement;
using UnityEngine.TestTools;

public class RecordingTest
{

    [UnityTest]
    public IEnumerator TestRecording()
    {

        // Unity has a bug where errors are printed when taking screenshots for recordings on Mac. This will suppress
        // those errors so the test can pass properly.
#if UNITY_EDITOR_OSX || UNITY_RUNTIME_OSX
        LogAssert.ignoreFailingMessages = true;
#endif

        // Define which recording to use
        string recordingPath = System.IO.Path.Combine(System.IO.Directory.GetCurrentDirectory(), "Assets/Tests/Runtime/Recordings/MainMenuRecording.zip");

        // Wait for the scene
        SceneManager.LoadSceneAsync("Startup", LoadSceneMode.Single);
        yield return RGTestUtils.WaitForScene("MainMenu");

        // Start the playback, which will also create a new recording
        PlaybackResult playbackResult = null;
        yield return RGTestUtils.StartPlaybackFromFile(recordingPath, result => playbackResult = result);

        // Print out the recording path for viewing later
        RGDebug.LogInfo("Played back and recorded the test run - saved to " + playbackResult.saveLocation);
        Assert.IsNotNull(playbackResult.saveLocation);

    }
}
The full documentation for the RGTestUtils class can be found within the reference page for gameplay sessions.
Advanced Options
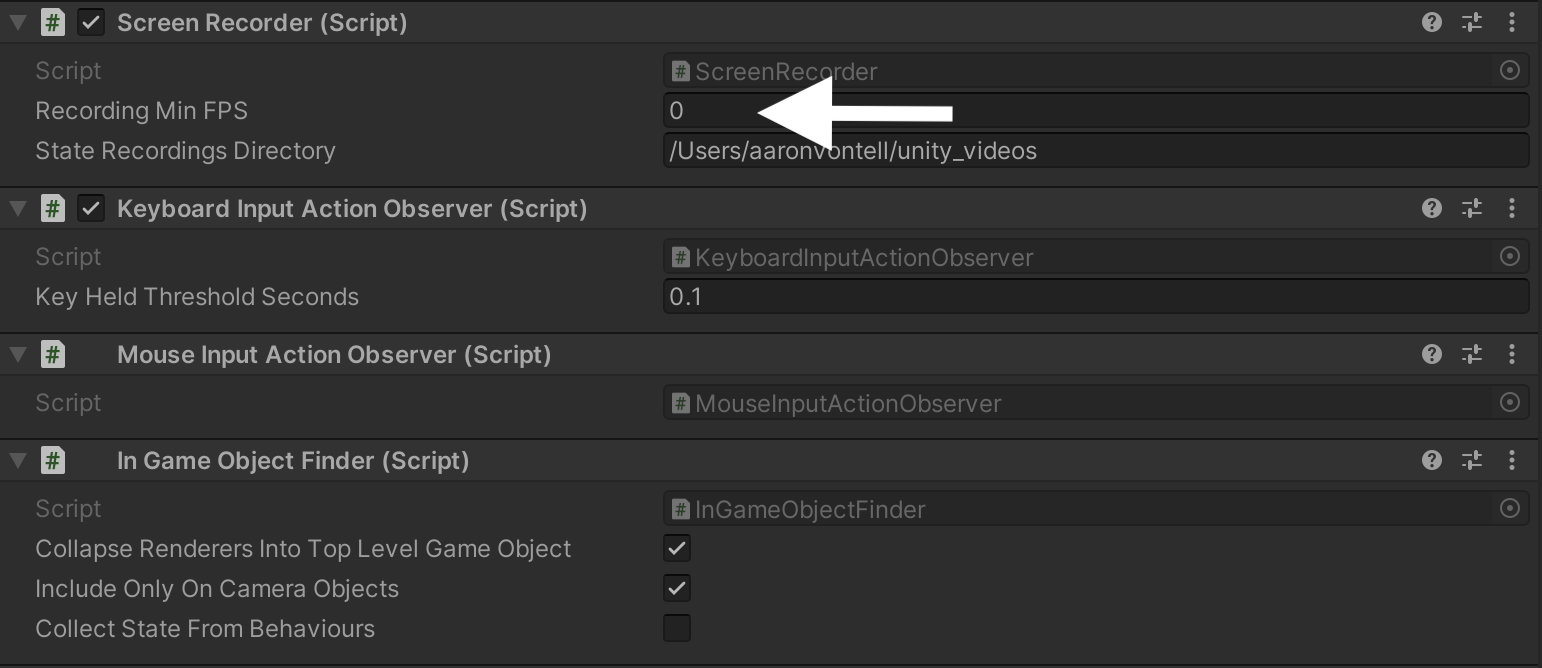
Choosing an FPS for recording
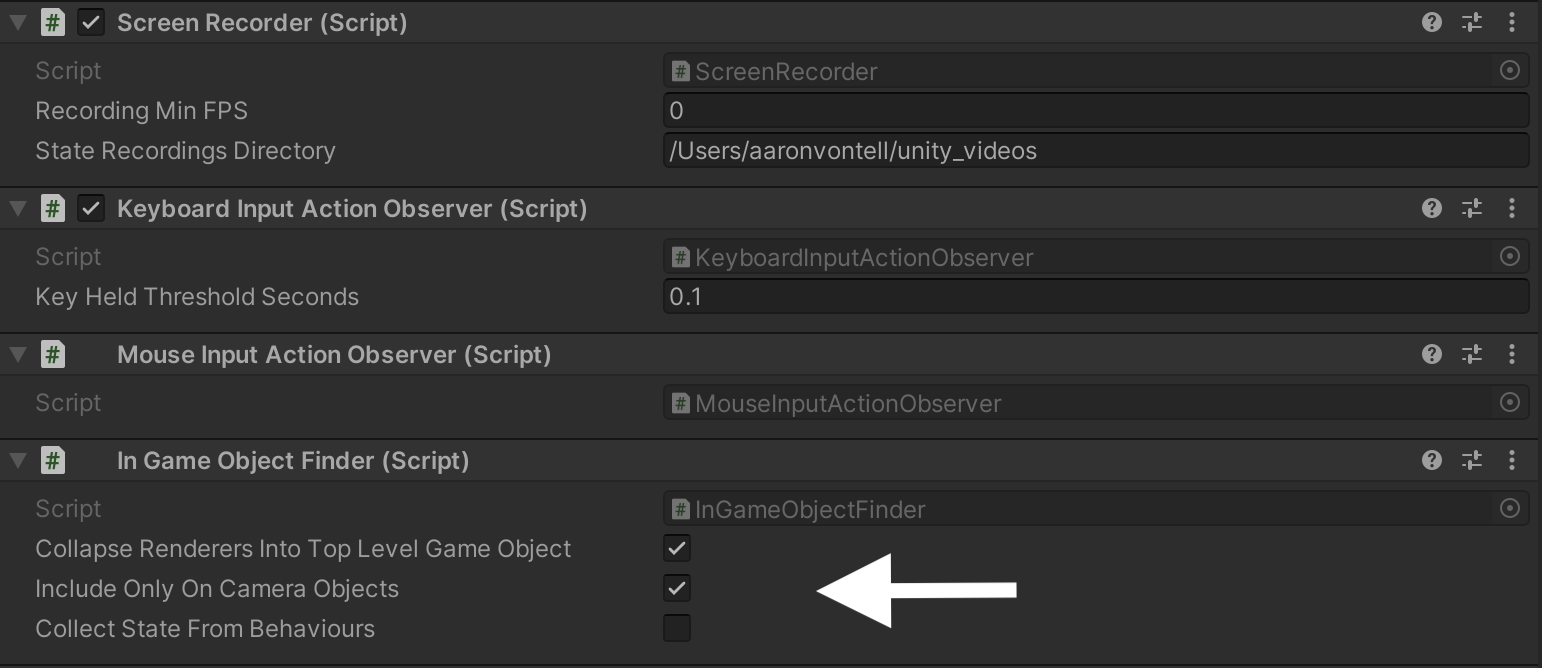
The Recording Min FPS field under RGOverlayCanvasV2 > ScreenRecorder allows you to configure
how often the SDK scrapes the game for state data.
Its default value is 0, which instructs the SDK to only record state data when it detects a
key frame. In most cases, this should be set to 0, as most games will only require state collection on key frames.
Setting Recording Min FPS to a value greater than 0 will cause the SDK to record data at that frequency,
in addition to recording any key frame that was detected.
For instance, a setting of 5 will result in the SDK scraping the game for state data 5 times per second.
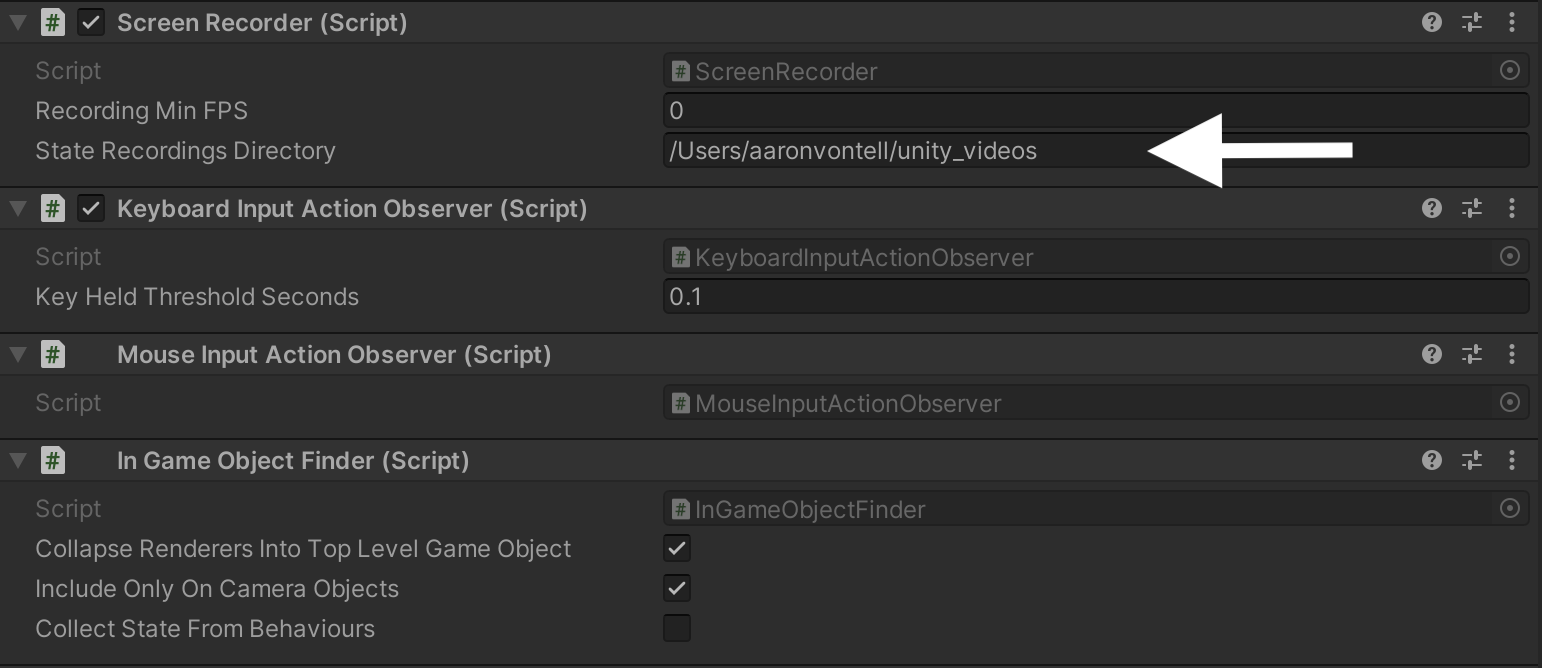
Changing your recording location
By default, recorded data is stored in your home directory under /unity_videos.
This directory can be overridden by changing the State Recordings Directory field under RGOverlayCanvasV2 > ScreenRecorder.
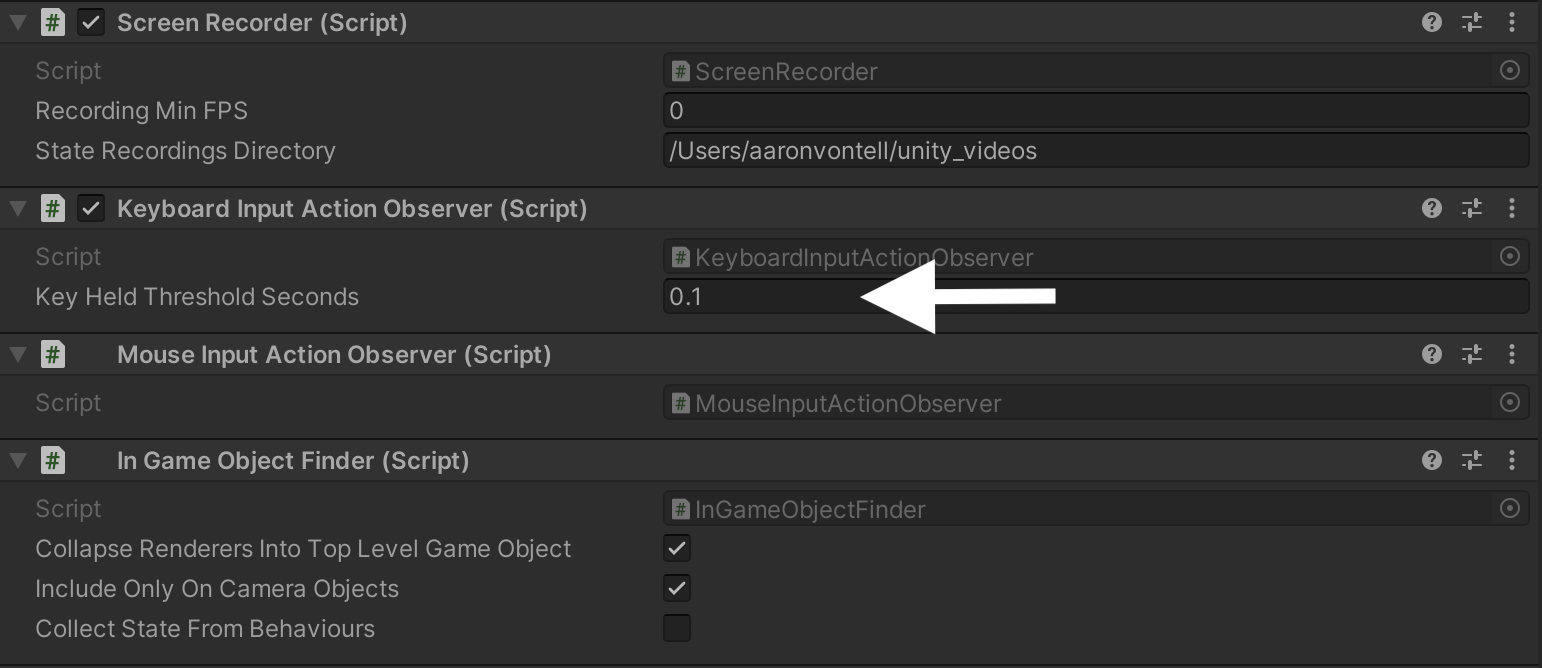
Input threshold options
Some devices might recognize holding down a key as spamming key presses for that key instead.
The Key Held Threshold Seconds field under RGOverlayCanvasV2 > Keyboard Input Action Observer
allows you to configure the threshold for how long a key must be released
between presses before each press is considered a distinct event.
This setting defaults to 0.1 seconds, and on Windows should not have to be changed. This setting is primarily used on
Mac and other platforms that handle key repeats in a non-standard way. If you do experience key click spamming,
increase the value.
Configuring game-state collection
The Regression Games SDK scrapes the game for state data by traversing the game's GameObject hierarchy and recording any data it considers relevant to playing back recordings or running tests.
Excluding objects from recordings
Adding the RGExcludeFromState component to a GameObject will prevent its state data from being recorded.
This can be useful for ignoring irrelevant regions of a level
or other objects that are not relevant to your playback or testing.
Children of an excluded GameObject are also excluded from the recording, effectively ignoring the entire hierarchy.
Including objects from your scene in the state
By default, the system records game objects visible in the scene with a renderer. Other game objects can be included in
the state by attaching the RGIncludeInState MonoBehaviour to them.
Collapsing renderers
By default, the SDK collapses a child GameObject's data into its respective top-level GameObject. If a GameObject hierarchy has colliders/renderers/animators/etc. at multiple levels, they will be represented together as a single "entity" in the recorded state. This is generally desirable, as it allows you to treat each player (for example) as a complete entity in the state rather than visualizing individual child components as their own entities.
However, it can also be useful to disable this behaviour in cases where you'd like to validate render bounds on individual armatures, weapons, or other components that are children in the hierarchy.
The Collapse Renderers into Top Level Game Object checkbox under RGOverlayCanvasV2 > In Game Object Finder
controls this behaviour, where checking the box forces collapsing and unchecking the box disables collapsing.
Include off-camera objects
By default, the SDK only records state data for GameObjects that are within the main camera's viewport.
In many cases, this is desirable because off-camera GameObjects are not relevant to playback or applicable test scenarios.
Off-camera objects can be included in recordings by toggling the
Include Only On Camera Objects checkbox under RGOverlayCanvasV2 > In Game Object Finder.
Checking this box limits state collection to on-camera objects and unchecking the box enables state collection for
off-camera objects.
Recording objects outside of the camera viewport may increase the size of recordings and impact performance.
Collect state from behaviours
By default, the SDK only records state data from GameObjects themselves, and does not record fields or property values from attached Behaviours. These are generally not needed for playing back recordings, but can be extremely useful for test scenarios.
The Collect State from Behaviours checkbox under RGOverlayCanvasV2 > In Game Object Finder
dictates whether recordings include data from Behaviours attached to a GameObject.
Checking this box will include all fields and properties from all Behaviours attached to a GameObject in the recorded state,
and unchecking the box will exclude them.
Recording state from Behaviours may incur an impact on performance.
To learn more about the data format and intricacies of this tool, visit the next page for a technical reference.
Configuring session replay
When replaying a gameplay session recording, the SDK uses key frame information from the original recording.
When processing the replay, there are different modes for how the SDK can enforce keyframe detection.
- The default mode is
Deltawhich is tolerant of non-exact UI element transitions by ensuring that tracked UI elements increase/decrease/etc by at least the recorded amount from one tick to the next. - The other mode is
Strictwhich requires exact match of the objects in the recorded state to the current state. This mode works well for some games, but can fail when objects are created/destroyed based on timed events that don't consistently align on the same frame boundaries.
This can be configured using the UI Replay Enforcement dropdown of the Replay Data Playback Controller Behaviour. This Behaviour is located on the RGOverlayCanvasV2/Recording Toolbar GameObject.